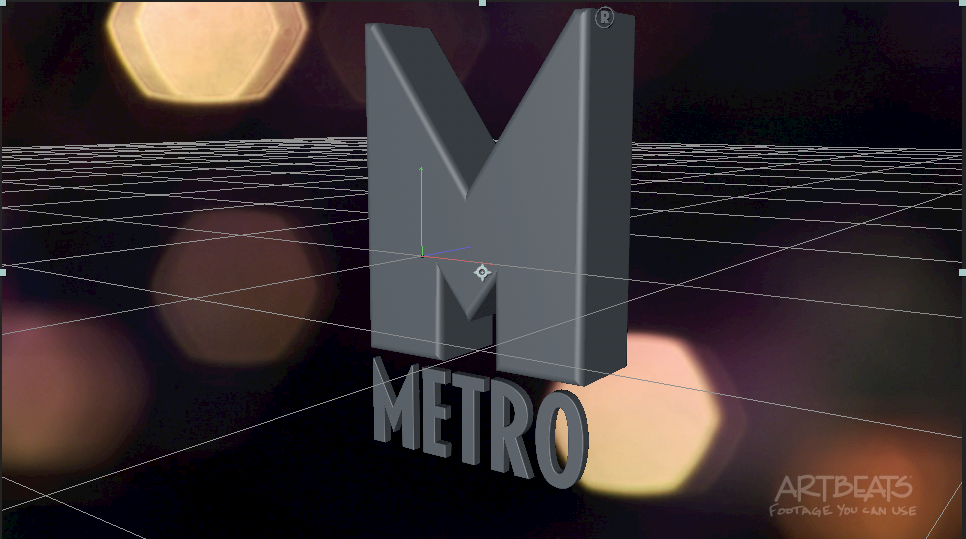
- Assets - Creating Flying Logos with After Effects and Cinema 4D lite
- Importing Illustrator files can be kind of wonky in C4D. This was the most updated video I could find
- An important panel in CINEMA 4D is what's called the Object Manager, which is in the upper right. It's kind of like a combination of the Project Panel and Timeline Panel in After Effects. It shows you what assets you have in your project, and how they are stacked together or interconnected.
- To pull an object in, go to the file menu in the Object Manager and choose Merge objects
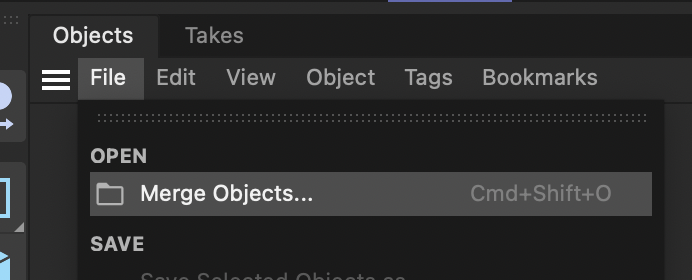
- Choose the illustrator file (If you have an older version of C4D, you may need to save to Illustrator 8)
- For scale use at least 10 (You don't want to go too small or too large)
- Click OK
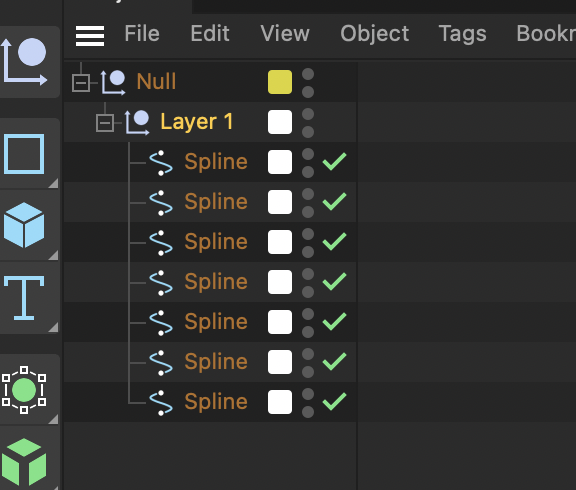
- Open the null layer and the then the layer 1 layer to see all objects
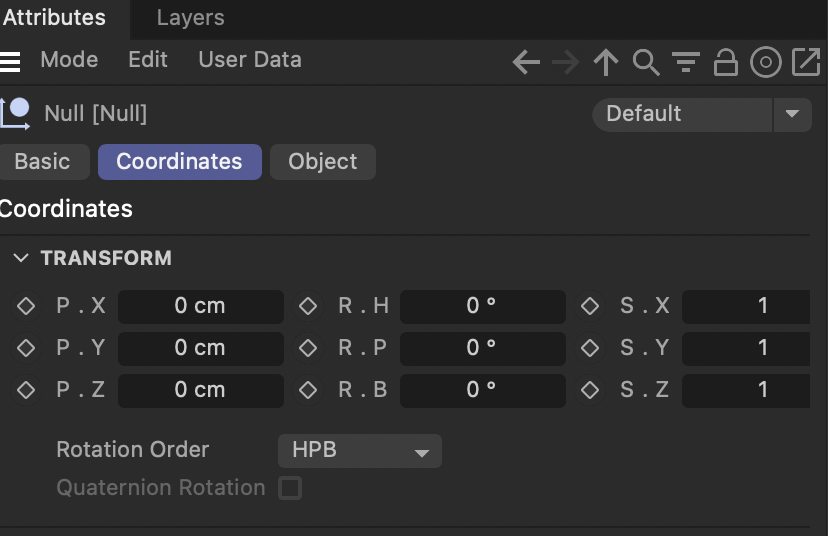
- Select the layer 1 layer and go to the Attributes panel (lower right corner) Type in 0 for x and Y Position in the bottom panel to the right and then click apply for it to take:
- To navigate click the following keys:
- 1+drag = Track XY plain
- 2+drag = Track Z plain
- 3+drag = Orbit camera
- To set the hierarchy of paths
- Double click the rest of the layers and rename to the corresponding path
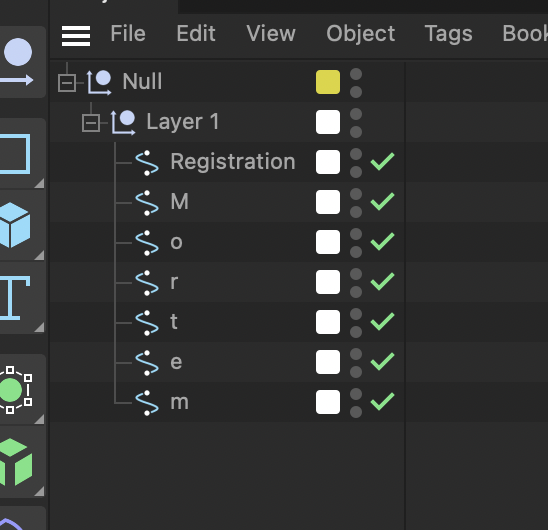
- Double click the rest of the layers and rename to the corresponding path
- Now for extrusion
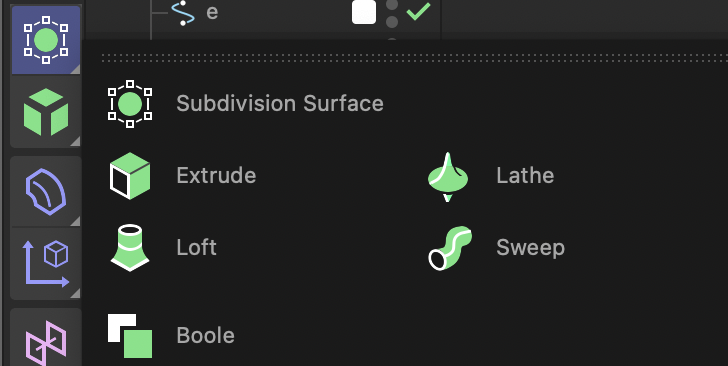
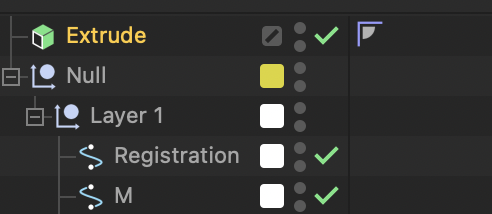
- Go up and select the Extrude Tool, click and hold to open up its menu, and choose Extrude. An Extrude object is added to the Object Manager. Now drag the M object to the extrude layer
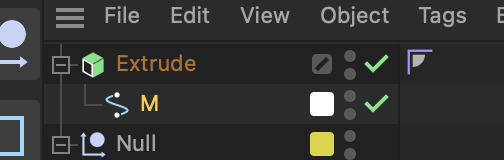
- For different extrusions repeat the process. For this the M logo, the word metro and the registration
- Now drag the corresponding objects to the correct extrusions...it helps to name them by double clicking
- To extrude all Metro letters under one extrusion select all, drag into the extrusion layer and in the attritbutes panel in the object tab click the Heirarchal box
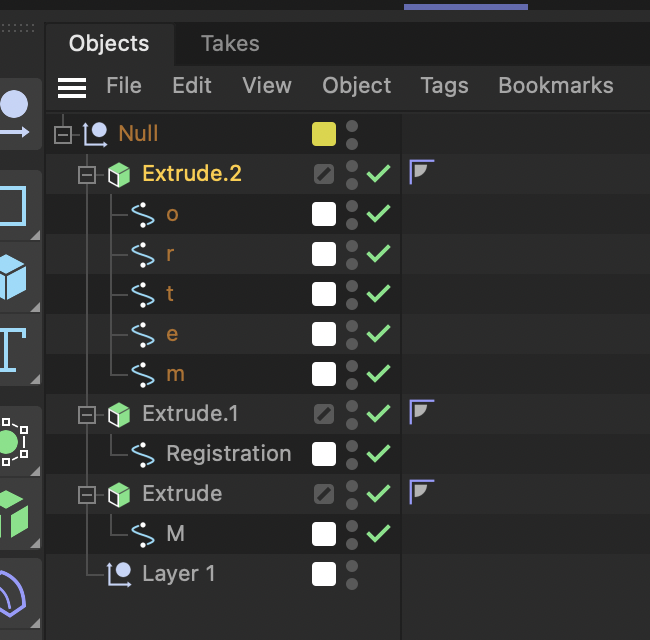

- Now drag all extrusion under the Null layer which now acts as a single object (like parenting in AE). You can delete layer 1 (now empty)
- Adjust each extrusion object in the attributes panel in the object tab. Change Offset to taste
- To extrude all Metro letters under one extrusion select all, drag into the extrusion layer and in the attritbutes panel in the object tab click the Heirarchal box
- Go up and select the Extrude Tool, click and hold to open up its menu, and choose Extrude. An Extrude object is added to the Object Manager. Now drag the M object to the extrude layer
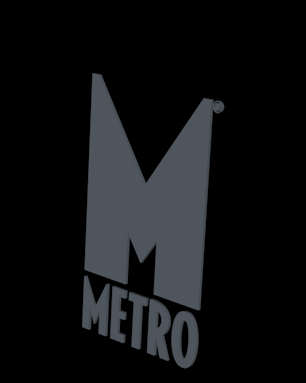
- Click cmd/ctrl R to render the object
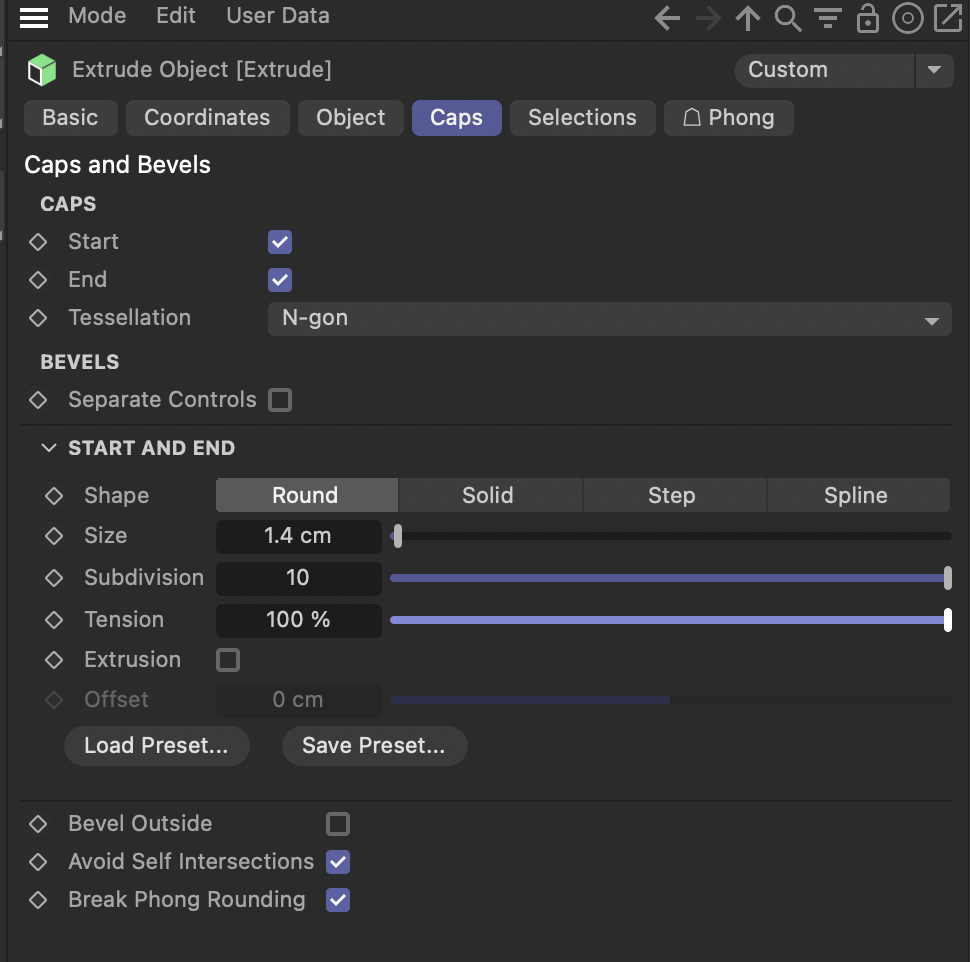
- select the extrusion object for the M logo and and change the Z movement in the attributes panel
- Object>Offset>11cm
- Caps>round>size 1.4
- Select start cap/end cap
- Increase subdivision to around 10 so there will be more rounding of the bevel (you can play with the bevel shape for different edge types) In most recent version it's Tension.
- Now set the extrusion to the METRO word
- Object>Offset>2cm
- Caps>Select start cap/end cap
- Size>.5
- subdivision>10
- De-emphisize the registration
- Object>Offset>2cm
- Caps>Select start cap/end cap
- Size>.5
- subdivision>10
- Save the file and now view in After Effects. Note...you may need to reposition the word metro and the registration by sliding forward on the Z plane.
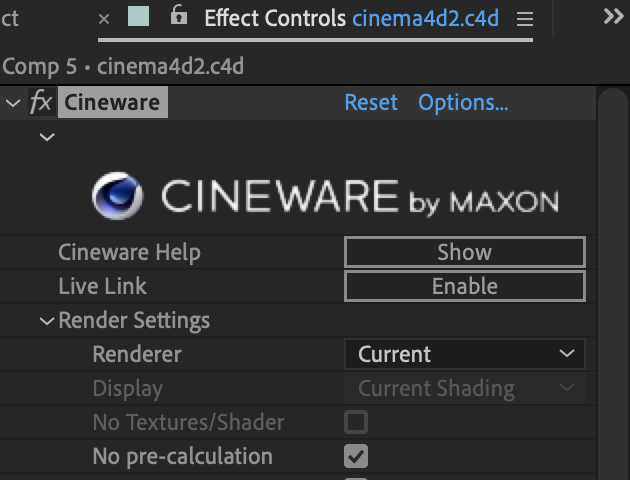
- If you don't see it After Effects choose Current in the After Effects in the Effects control panel under Renderer